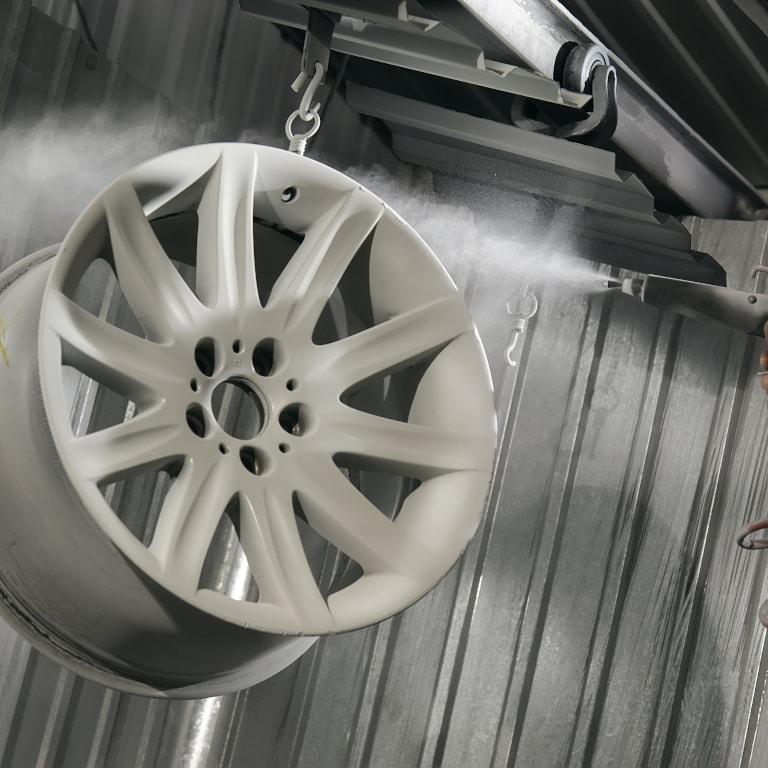
Hydro Chroming: The Latest Tech in Alloy Rim Customizations
July 12, 2021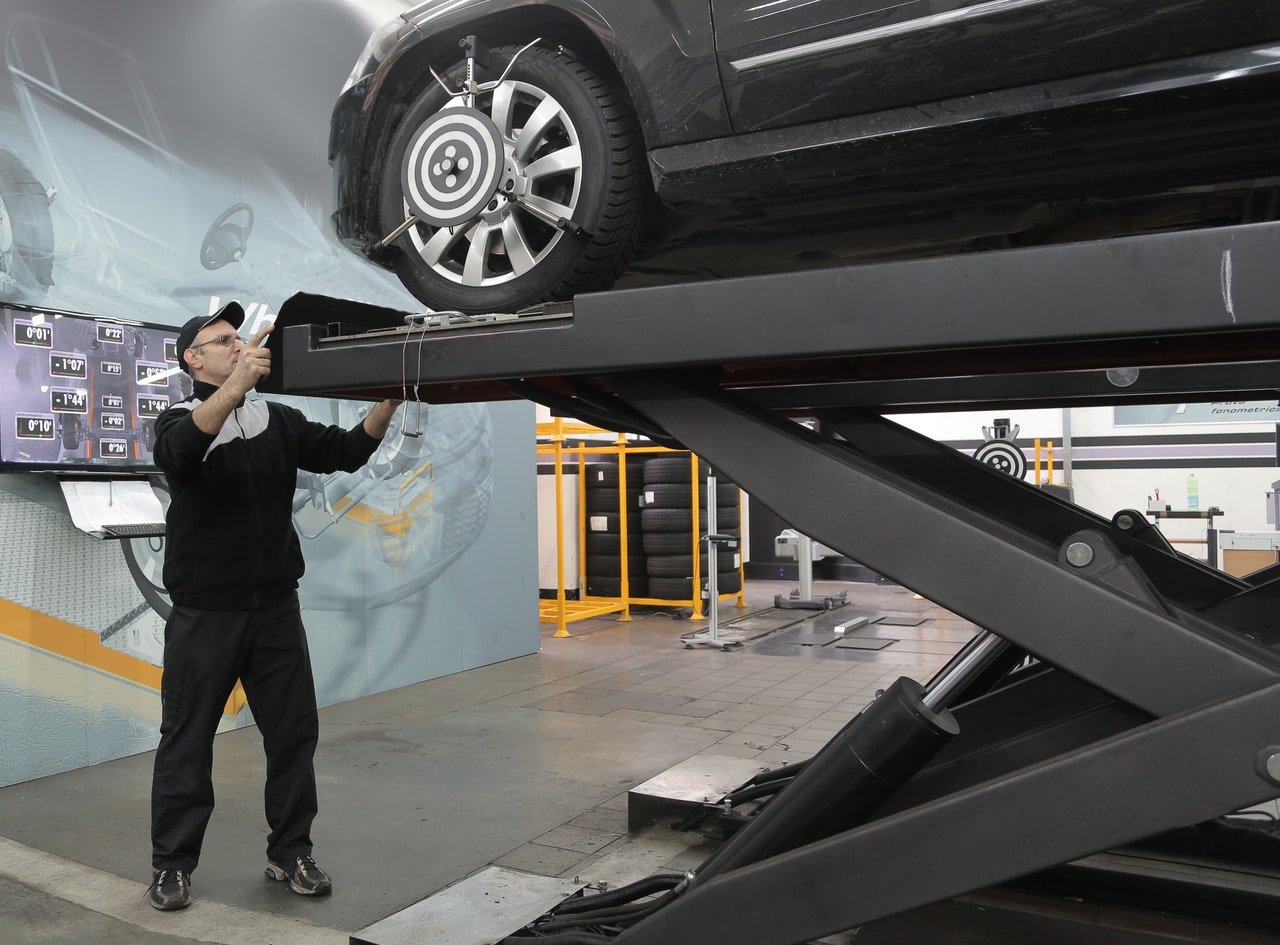
Inspecting Rims Before Buying a Used Car
October 13, 2021Whether you have found a bargain at your local car dealer or have picked up a fixer-upper, used cars are a cost-effective option that can give you the freedom to revamp and overhaul existing unsightly damage. And, when it comes to repairing damage on a used car there is no better place to start than the rims. Maybe you have noticed small scratches on the alloys or larger gashes across the face of the rim. Either way, this step by step guide will highlight how you can begin fixing your rims on a used car and when you should consider calling the professionals.
Step 1: Grab Your Kit
You can find specifically curated alloy rim repair kits at most major automobile repair shops. These kits consist of sandpaper, a filler, a primer, and paint. This will be your go-to rim and wheel repair kit for light damage to the used car’s alloys and should help you achieve a smooth and superior look in no time.
Step 2: Clean Up
Before you do anything else, you should ensure that your wheels are as clean as you can get them. Spray the alloy rims down with a high-pressure hose and use a microfiber cloth to remove any gunk. Don’t concern yourself too much with baked-on dust that will be removed during the next step. The main purpose of this step is to work away any excess surface-level filth that may impact the following steps.
Step 3: Sand Away
Using the sandpaper provided in your wheel repair kit, begin to apply pressure to the rims and scrape away damaged paint and chips. This is quite an intensive task done by hand, so you could speed this process up by using a sander. If you opt-in for this efficient solution then be sure to sand gently as you only want to remove paint and chips and not cut into the alloy rims.
Step 4: Apply the Filler
Here’s where the real repairing begins. You will need to mix the putty following the directions on the product label and apply it to the damaged areas. You want to ensure that the surface of the wheel with the applied filler is as level as possible, and can do so by using a piece of cardboard to scrape away excess putty. Then, let the putty dry.
Step 5: Sand Again
Once the putty is dry, take your sandpaper and begin sanding away excess dried putty until the rim surface is completely level. You should not use the sander at this step as you want to be gentle, careful, and precise as not to damage the rims in the process. Once you are satisfied with the look, you can clean away the dust with a wet cloth.
Step 6: Mask and Prime
With your filler added and your rims sanded, you will now aim to achieve a seamless alloy aesthetic using masking tape and the primer. Apply the masking tape around the damaged area so that the undamaged parts of the rim are concealed. Then, apply the primer over the damaged areas and leave it to dry.
Step 7: Paint
Once dry, you can move on to this final step of fixing your rims on a used car. Using the paint in your wheel repair kit, apply light coats to the rim leaving each coat to dry before another application. Continue this process until you are satisfied with the aesthetic of your brand-new-looking alloy rims.
Should You Call the Professionals?
Bear in mind that the above steps apply to light rim damage and cannot resolve every scratch or scuff accrued on your used car’s wheels. Furthermore, this is a temporary cost-saving solution. At some point, you will need to call in professionals to assist. If there is any aesthetic damage left behind after the above steps or if the rim damage is affecting your vehicle’s performance, then you should contact a wheel repair specialist. These skilled mechanics utilize a range of high-tech wheel repair equipment to fix rims and they should appear almost brand new when you receive them. It may be more costly than doing it yourself, but you cannot put a price on superior looking and performing rims.

